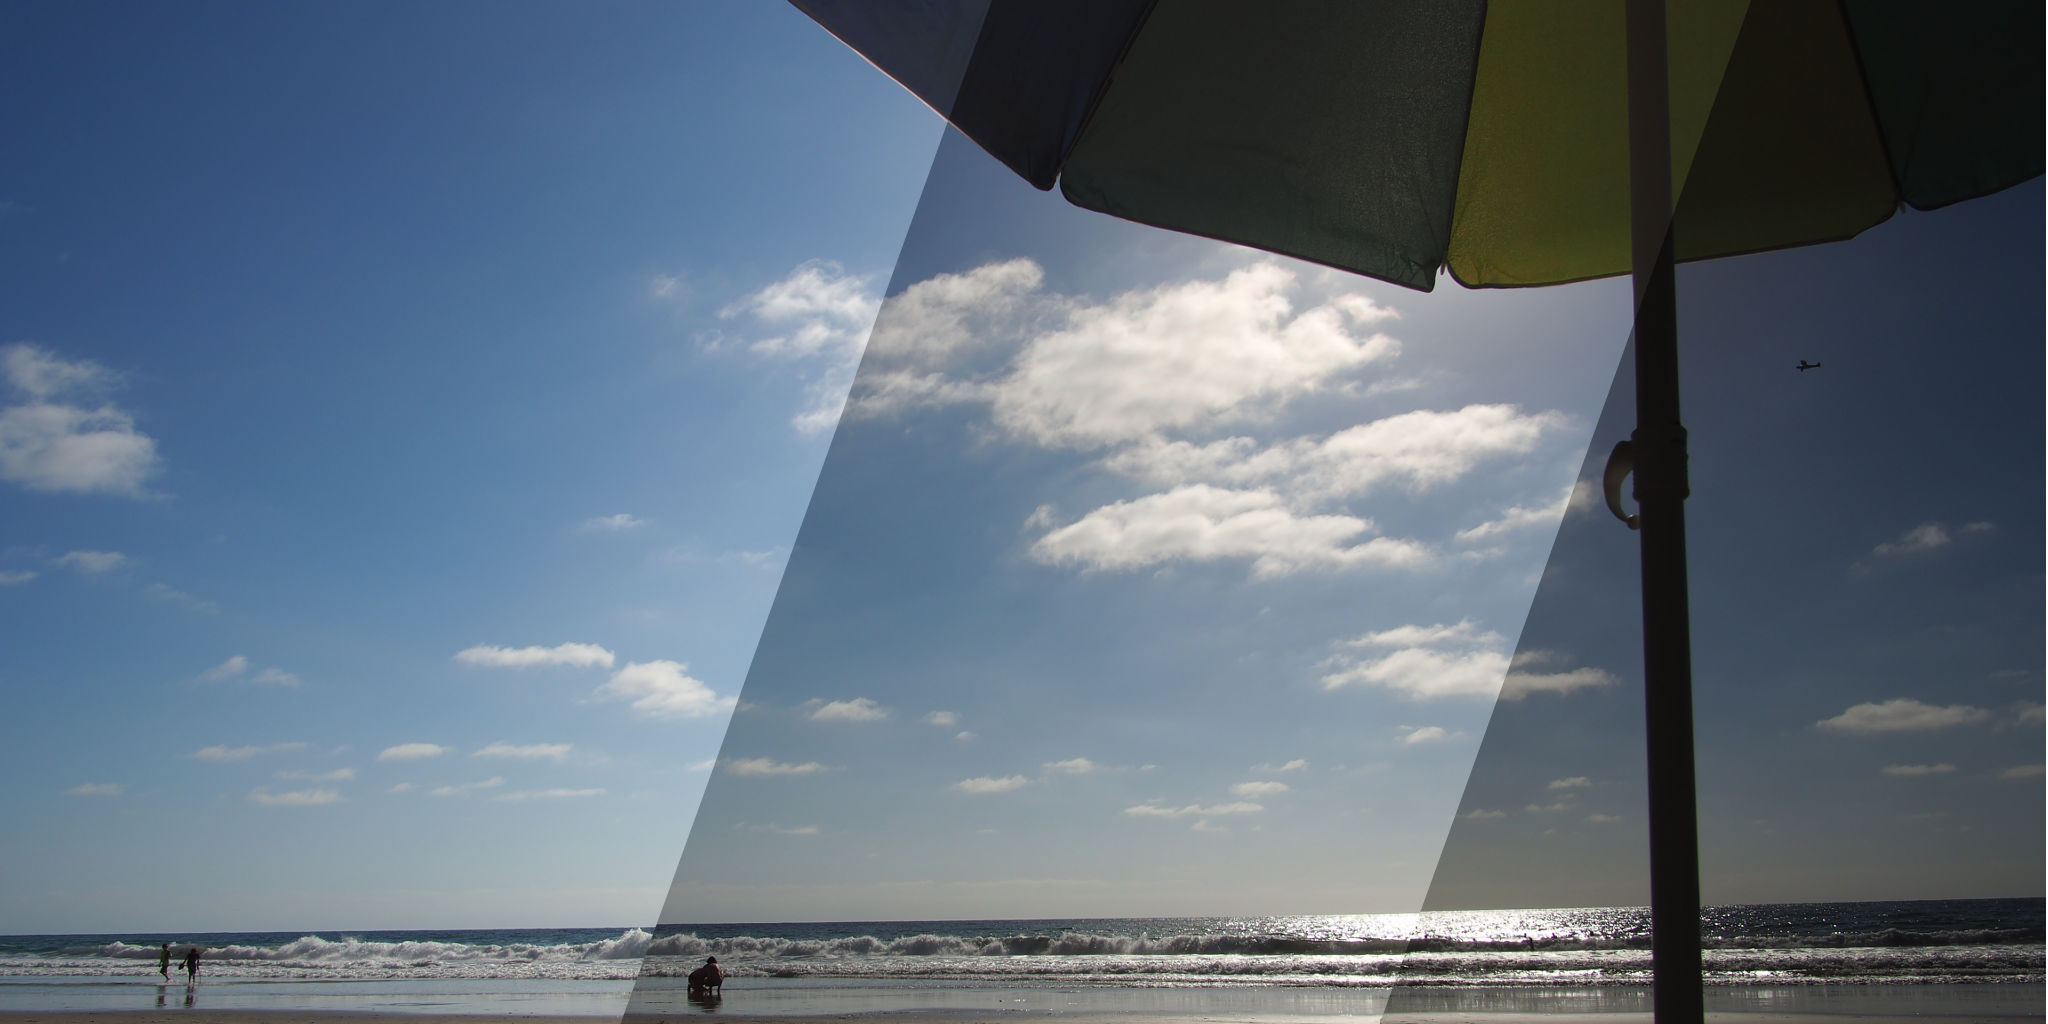
Beach Umbrellas by @isaac
Hugin is an excellent tool for for aligning and stitching images. In this article, we’ll focus on aligning a stack of images. Aligning a stack of images can be useful for achieving several results, such as:
- bracketed exposures to make an HDR or fused exposure (using enfuse/enblend), or manually blending the images together in an image editor
- photographs taken at different focal distances to extend the depth of field, which can be very useful when taking macros
- photographs taken over a period of time to make a time-lapse movie
For the example images included with this tutorial, the focal length is 12mm and the focal length multiplier is 1. A big thank you to @isaac for providing these images.
You can download a zip file of all of the sample Beach Umbrellas images here:
Download Outdoor_Beach_Umbrella.zip (62MB)
Other sample images to try with this tutorial can be found at the end of the post .
These instructions were adapted from the original forum post by @Carmelo_DrRaw ; many thanks to him as well.
We’re going to align these bracked exposures so we can blend them:

-
Select Interface → Expert to set the interface to Expert mode. This will expose all of the options offered by Hugin.
-
Select the Add images… button to load your bracketed images. Select your images from the file chooser dialog and click Open.
-
Set the optimal setting for aligning images:
- Feature Matching Settings: Align image stack
- Optimize Geometric: Custom parameters
- Optimize Photometric: Low dynamic range
-
Select the Optimizer tab.
-
In the Image Orientation section, select the following variables for each image:
- Roll
- X (TrX) [horizontal translation]
- Y (TrY) [vertical translation]
You can Ctrl + left mouse click to enable or disable the variables.

Note that you do not need to select the parameters for the anchor image:

-
Select Optimize now! and wait for the software to finish the calculations. Select Yes to apply the changes.
-
Select the Stitcher tab.
-
Select the Calculate Field of View button.
-
Select the Calculate Optimal Size button.
-
Select the Fit Crop to Images button.
-
To have the maximum number of post-processing options, select the following image outputs:
-
Panorama Outputs: Exposure fused from any arrangement
- Format: TIFF
- Compression: LZW
-
Panorama Outputs: High dynamic range
- Format: EXR
-
Remapped Images: No exposure correction, low dynamic range

- Select the Stitch! button and choose a place to save the files. Since Hugin generates quite a few temporary images, save the PTO file in it’s own folder.
Hugin will output the following images:
- a tif file blended by enfuse/enblend
- an HDR image in the EXR format
- the individual images after remapping and without any exposure correction that you can import into the GIMP as layers and blend manually.
You can see the result of the image blended with enblend/enfuse:

With the output images, you can:
- edit the enfuse/enblend tif file further in the GIMP or RawTherapee
- tone map the EXR file in LuminanceHDR
- manually blend the remapped tif files in the GIMP or PhotoFlow
Image files
- Camera: Olympus E-M10 mark ii
- Lens: Samyang 12mm F2.0
Indoor_Guitars
Download Indoor_Guitars.zip (75MB)
- 5 brackets
- ±0.3 EV increments
- f5.6
- focus at about 1m
- center priority metering
- exposed for guitars, bracketed for the sky, outdoor area, and indoor area
- manual mode (shutter speed recorded in EXIF)
- shot in burst mode, handheld
Outdoor_Beach_Umbrella
Download Outdoor_Beach_Umbrella.zip (62MB)
- 3 brackets
- ±1 EV increments
- f11
- focus at infinity
- center priority metering
- exposed for the water, bracketed for umbrella and sky
- manual mode (shutter speed recorded in EXIF)
- shot in burst mode, handheld
Outdoor_Sunset_Over_Ocean
Download Outdoor_Sunset_Over_Ocean.zip (60MB)
- 3 brackets
- ±1 EV increments
- f11
- focus at infinity
- center priority metering
- exposed for the darker clouds, bracketed for darker water and lighter sky areas and sun
- manual mode (shutter speed recorded in EXIF)
- shot in burst mode, handheld
Licencing Information
- Images created by Isaac I. Ullah , 2016, and released under the Creative Commons Attribution-ShareAlike 4.0 licence (cba).
